X POS supports a complete return and refund workflow. Returns create credit notes (negative invoices) linked to the original sale, ensuring proper accounting and inventory management.
Prerequisites
Before using returns, ensure these settings are configured in your POS Profile:
| Setting | Required Value | Description |
|---|---|---|
| Allow Return | Enabled | Master switch for the return feature |
| Allow Return Without Invoice | Optional | If enabled, returns can be processed without referencing an original invoice |
| Enable Return Validity | Optional | Enforce a time limit for returns |
| Return Validity Days | e.g., 30 | Number of days after purchase within which returns are accepted |
| Allow Free Batch Return | Optional | Allow returns without matching the original batch number |
Starting a Return
There are three ways to initiate a return:
Method 1: From the Navbar (Ctrl + R)
- Click the Return button (amber colored) in the Navbar, or press Ctrl + R
- The Return Invoice Dialog opens
- Search for the original invoice by invoice number or customer name
- Select the invoice from the results
- Choose items and quantities to return
- Click "Process Return"
Method 2: From the Orders View
- Navigate to Orders (Alt+2 or via sidebar)
- Find the original invoice
- Click the invoice to view its details
- Click the "Return" button in the order detail modal
- The system automatically:
- Clears the current cart
- Enters return mode with the original invoice reference
- Populates the cart with returnable items (with remaining returnable quantities)
- Redirects to the POS interface
Method 3: Via Command Search
- Press Ctrl + K to open Command Search
- Type "Return Invoice"
- Select the action from results
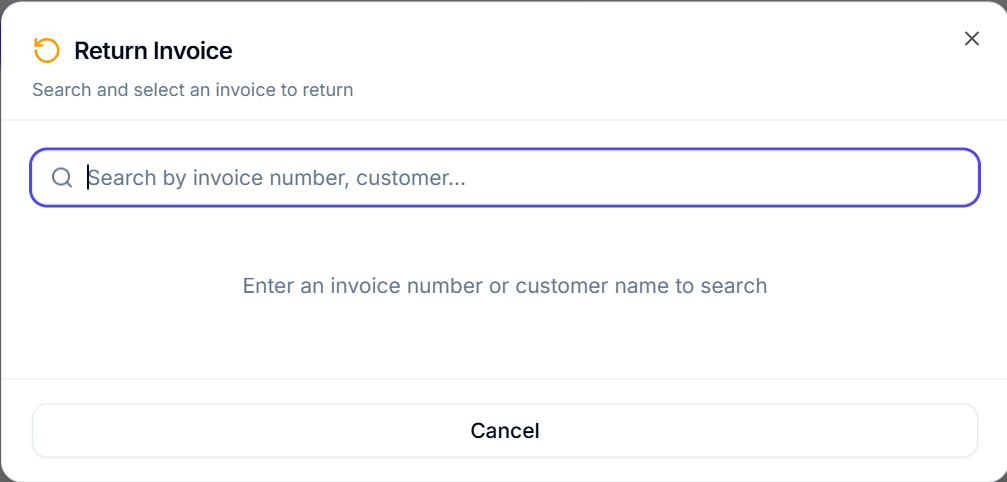
Return Invoice Dialog — Step by Step
The Return Dialog operates in two phases:
Phase 1: Invoice Selection
- Search Input — Type at least 2 characters to search
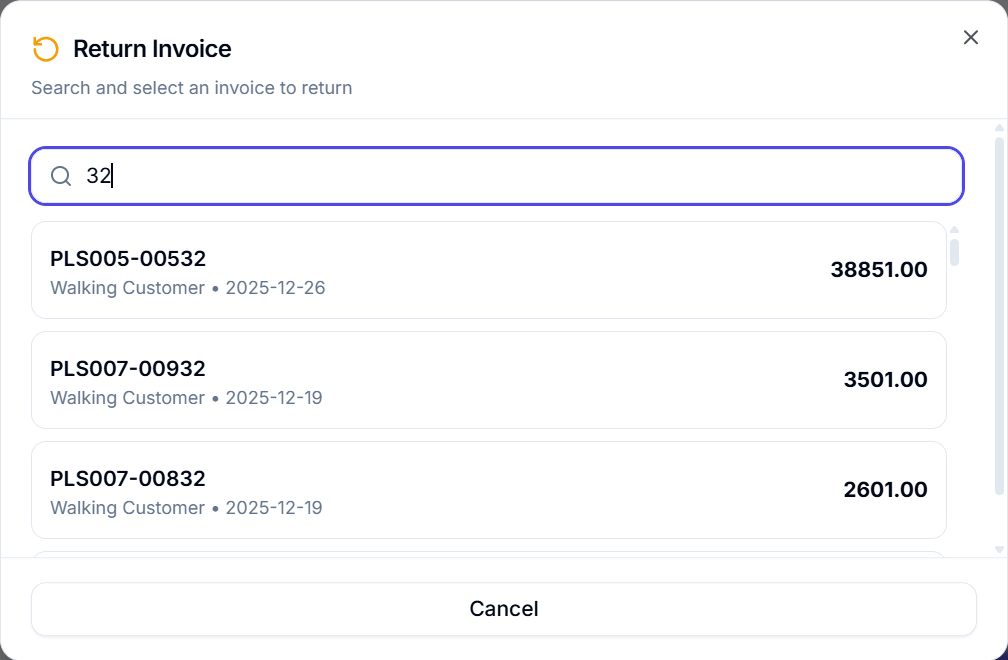
- The system searches by invoice name or customer name via API
- Invoice Cards appear showing:
- Invoice name/number
- Customer name
- Posting date
- Grand total amount
- Click an invoice to select it
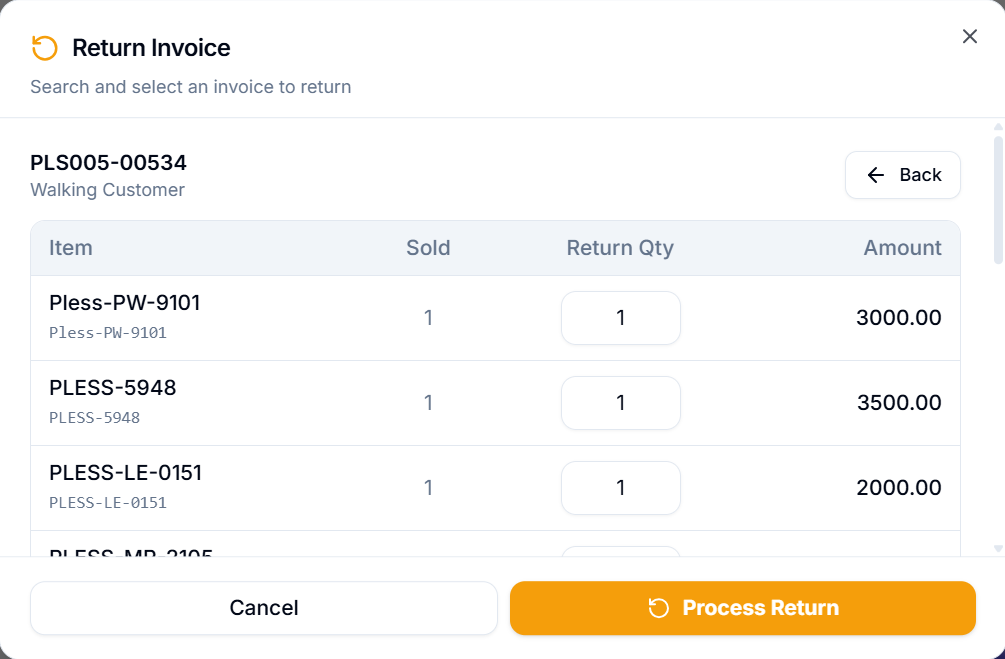
Phase 2: Return Item Selection
After selecting an invoice, the dialog shows the items from that invoice:
- Header — Shows the selected invoice name and customer
- Back Button — Return to invoice search
- Items Table with columns:
- Item — Item name and code
- Sold Qty — Original quantity sold
- Return Qty — Editable numeric input for quantity to return
- Amount — Line amount for the return
- Each item's return quantity is pre-filled with the maximum returnable quantity (original qty minus any previously returned qty)
- Adjust the return quantities as needed (0 to max returnable)
- Click "Process Return" — only enabled when at least one item has return qty > 0
Return Mode in POS
When a return is initiated, the POS interface enters Return Mode:
Visual Indicators
- Amber Return Banner — A yellow/amber alert strip appears at the top of the cart showing "Return Mode" with the original invoice reference
- Amber Grand Total — The total displays in amber instead of the usual color
- Negative Quantities — All items show negative quantities
- Locked Customer — The customer section is locked and cannot be changed
Restrictions in Return Mode
- Cannot change the customer
- Cannot add new items that weren't in the original invoice (when returning against a specific invoice)
- Cannot apply delivery charges
- Cannot redeem loyalty points
- Cannot apply write-off amounts
- Coupon and offer inputs are hidden
Exiting Return Mode
- Click the "Exit Return" button on the amber banner
- This clears the cart and restores normal sale mode
Processing the Return Payment
When you click Pay in return mode:
- The Payment Dialog opens in Return Mode (amber styling)
- The amount shows as negative (e.g., -$150.00)
- Select the refund payment method
- Enter the refund amount
- All payment amounts are automatically negated
- Click "Save & Print" or "Save Only"
The system validates that:
- All item quantities are negative
- The grand total is negative
- A "Return Against" invoice is set
Return Validity
If "Enable Return Validity" is enabled with a configured number of days:
- The system checks the posting date of the original invoice
- If the return is attempted after the validity period, it will be rejected
- Example: If Return Validity Days = 30, an invoice from January 1st cannot be returned after January 31st
Partial Returns
X POS supports partial returns:
- You can return fewer items than were originally sold
- Adjust the return quantity for each item individually (0 to max returnable)
- Items with return qty = 0 are excluded from the return
- The remaining returnable quantity is calculated as:
Original Qty - Previously Returned Qty - Multiple partial returns can be made against the same invoice until all quantities are exhausted
Returns Without Invoice
If "Allow Return Without Invoice" is enabled:
- Returns can be processed without searching for or selecting an original invoice
- The cashier manually adds items and sets negative quantities
- This is useful for scenarios where the original receipt is unavailable
- The return invoice will not have a return against reference
Note: This should be used with caution as it bypasses the normal validation of returnable quantities.